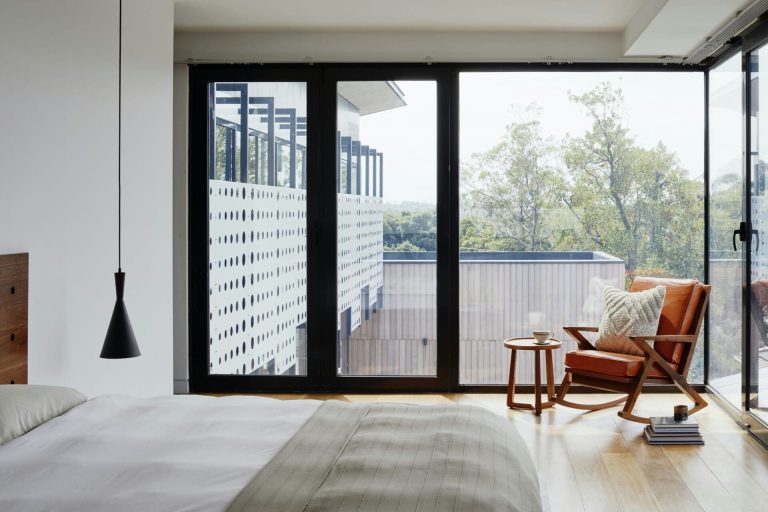
Have you ever walked into a room and immediately felt that something just wasn’t quite right? Maybe the walls seemed uneven, or those pesky seams were more noticeable than they should be. If there’s one thing that can make or break the overall vibe of a space, it’s the way the drywall is installed. In Malaysia, where our homes tell unique stories of culture and comfort, proper drywall installation is more than just a technical task—it’s an art. Whether you’re dreaming of a cozy living room or a sleek office space, understanding the importance of getting that drywall just right can lead to a polished look that truly elevates your interior. So, let’s dive into why nailing down those installation details can transform your spaces from simply okay to absolutely stunning!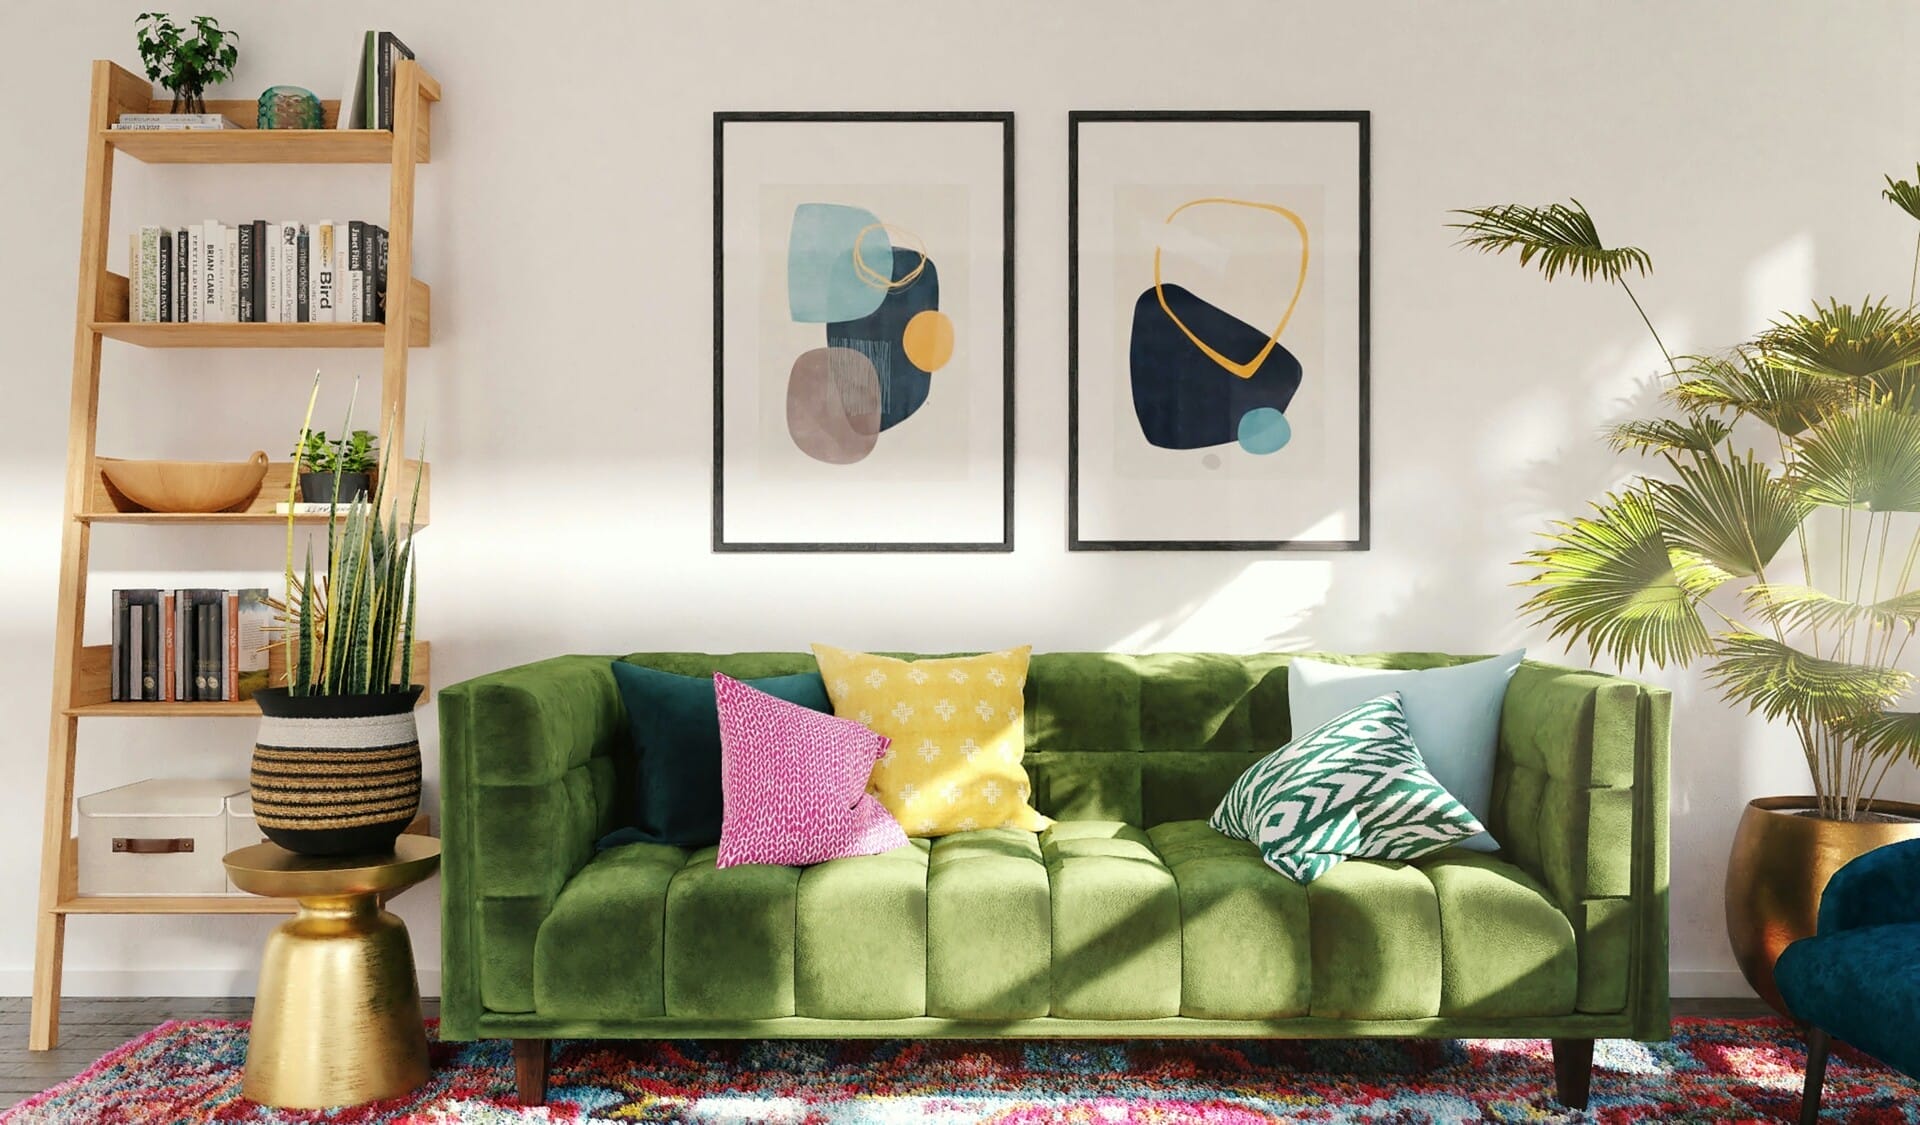
Understanding the Importance of Drywall Quality in Home Aesthetics
When it comes to the overall appearance of a home, the quality of drywall plays a significant role in shaping its aesthetics. High-quality drywall ensures smooth surfaces that can highlight your design choices, whether it’s a minimalist decor or a vibrant color palette. Choosing the right type of drywall not only affects the look but also impacts the long-term durability of your walls. If you opt for subpar materials, you might end up with unsightly imperfections like cracks, bumps, and visible seams, which can distract from even the most beautiful interiors.
Proper installation of drywall is essential for achieving that seamless finish that homeowners crave. This process involves meticulous techniques such as hanging the boards on the framing, taping seams, and applying joint compounds effectively. Some key points to consider include:
- Alignment: Ensures boards are straight and meet at appropriate angles.
- Taping and Finishing: Smooth application of joint tape and compound to create even surfaces.
- Sanding: A critical step that can make or break the final look, as it removes imperfections.
Moreover, the impact of drywall quality goes beyond just aesthetics; it influences the functionality of your living space. High-quality drywall performs better under stress, reducing issues related to moisture and pests, which can ultimately lead to costly repairs. Here’s a simple comparison of common drywall types that might help you in decision-making:
| Drywall Type | Features | Best Use |
|---|---|---|
| Regular Gypsum Board | Affordable, good for most interior walls | Living rooms, bedrooms |
| Moisture-Resistant | Prevents mold growth, water-resistant | Bathrooms, kitchens |
| Fire-Resistant | Enhanced safety; rated for fire resistance | Garages, utility rooms |
By paying close attention to the quality and installation of your drywall, you not only ensure a polished look but also enhance the overall longevity and resilience of your home. Investing in quality drywall and skilled workmanship can transform a house into a stunning home, reflecting your personal style while standing the test of time.
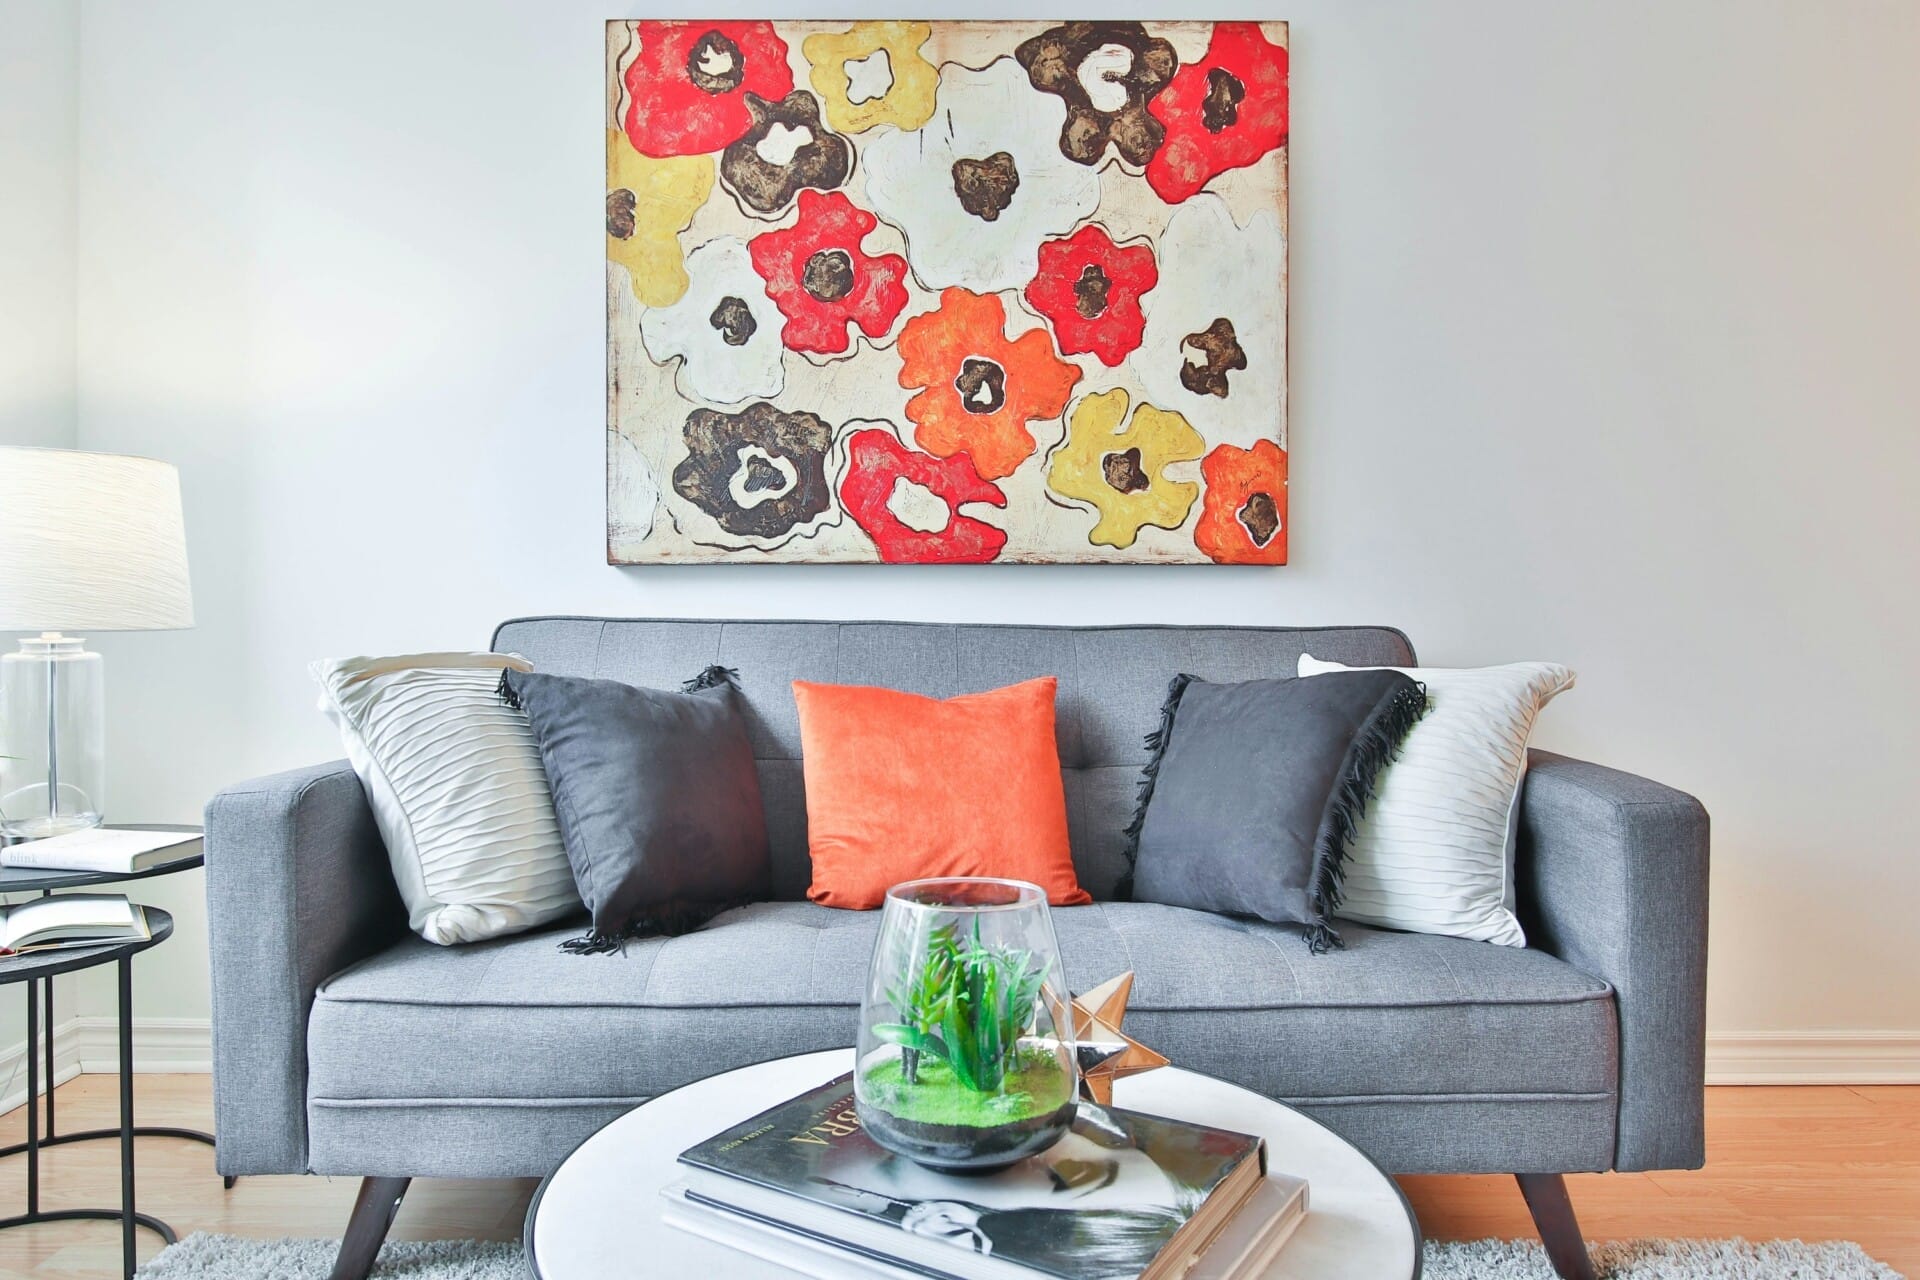
Mastering the Fundamentals of Drywall Installation Techniques
Getting the hang of drywall installation is key to creating a polished finish that just screams “professional.” When you ace the basics, you set the stage for everything that comes next. Here’s what you need to keep in mind:
- Choose the Right Material: Use the right thickness and type of drywall for the space you’re working in. Moisture-resistant boards are perfect for humid areas like bathrooms.
- Measure Twice, Cut Once: Accurate measurements can save you from costly mistakes. Always double-check your dimensions before making any cuts.
- Secure Properly: Make sure you’re using the right screws and securing them at the right intervals. This keeps your drywall in place and helps avoid sagging.
Another vital aspect is the finishing process. It’s not just about hanging the boards; it’s about making them disappear. Achieving that seamless finish requires:
- Taping and Mudding: This step ensures that the joints between drywall sheets are smooth. Use a good quality joint compound to fill in and feather the edges.
- Sanding Techniques: Sanding can be tedious, but it’s essential for that impeccable look. Start with a coarser grit and finish with a fine one for ultra-smooth results.
- Priming and Painting: Priming creates a nice, even surface for your paint to adhere to, making your final coat look crisp and clean.
Whether you’re a DIY enthusiast or a seasoned pro, understanding these techniques can make a massive difference in how your space turns out. Let’s not forget the importance of safety and taking your time to do things right:
| Tip | Reason |
|---|---|
| Wear Safety Gear | Protect against dust and debris. |
| Work in a Well-Ventilated Space | Prevents harmful fumes and improves comfort. |
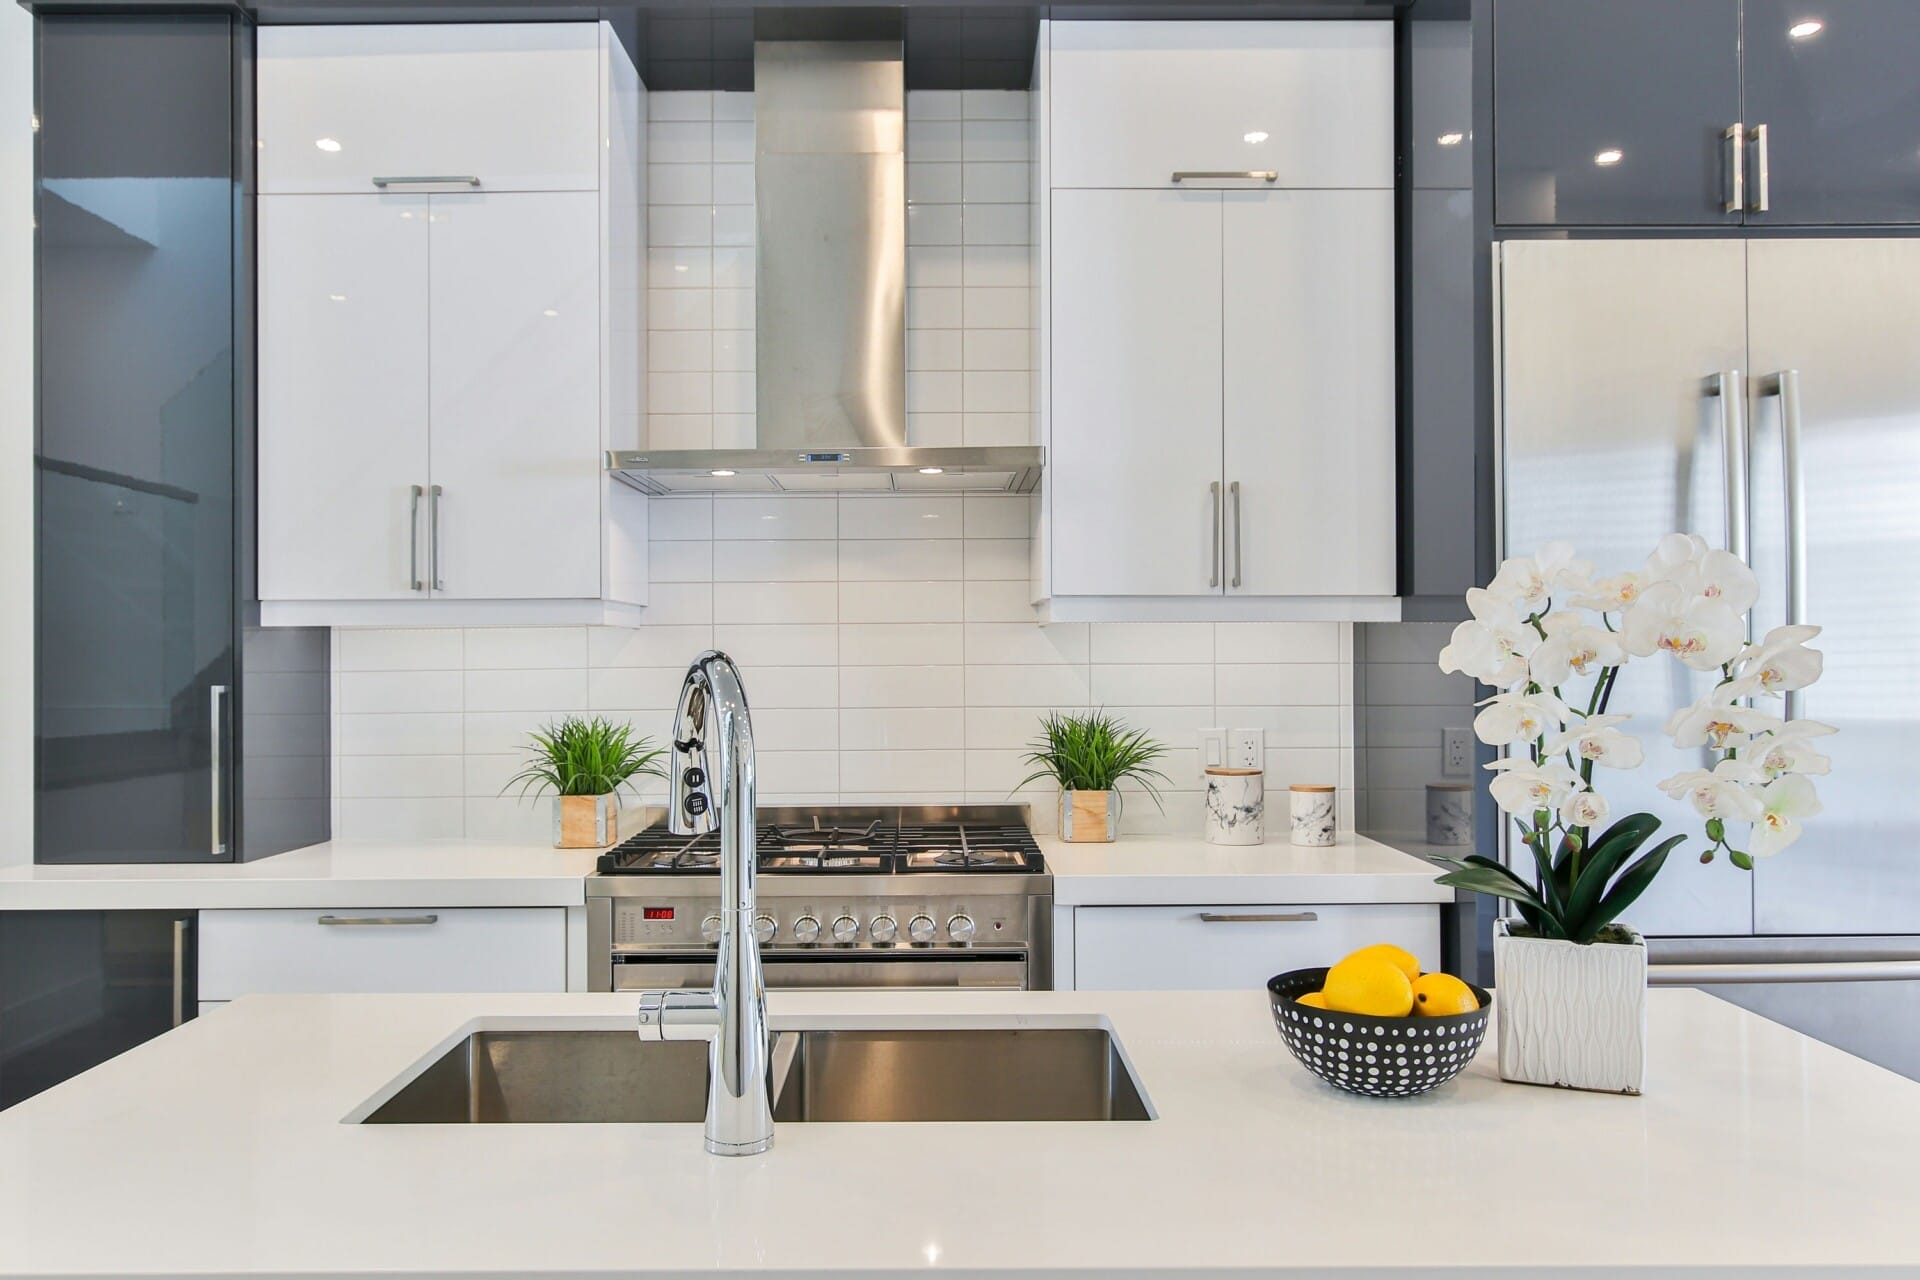
The Role of Proper Alignment in Achieving a Flawless Finish
When it comes to achieving that flawless finish on your drywall, proper alignment is where the magic happens. It’s not enough to just slap the boards up; they need to be installed with precision. Misaligned boards can lead to unsightly seams, gaps, and a myriad of issues that can detract from the overall appearance of your walls. Think of drywall installation like assembling a puzzle: every piece must fit snugly and perfectly for the complete picture to emerge. Proper alignment ensures that the boards are straight and level, paving the way for a smooth finish.
In fact, the benefits of aligned drywall installation go beyond mere aesthetics. It facilitates easier finishing work, enabling drywall mud to be applied more uniformly. Plus, it helps in the prevention of cracks and other imperfections over time. Consider how well-aligned drywall can impact the final touches:
- Seamless paint application
- Reduced sanding time
- Improved durability
Moreover, achieving that polished look is all about the details. The right alignment can even make a space feel larger and more inviting. In a nutshell, when the panels are properly aligned, it’s easier to conceal joint tape and mudding, avoiding those frustrating irregularities that can pop up later on. It’s a simple step that pays huge dividends in the long run, and one that every homeowner or contractor should prioritize. So, don’t underestimate the power of good alignment in your drywall projects!
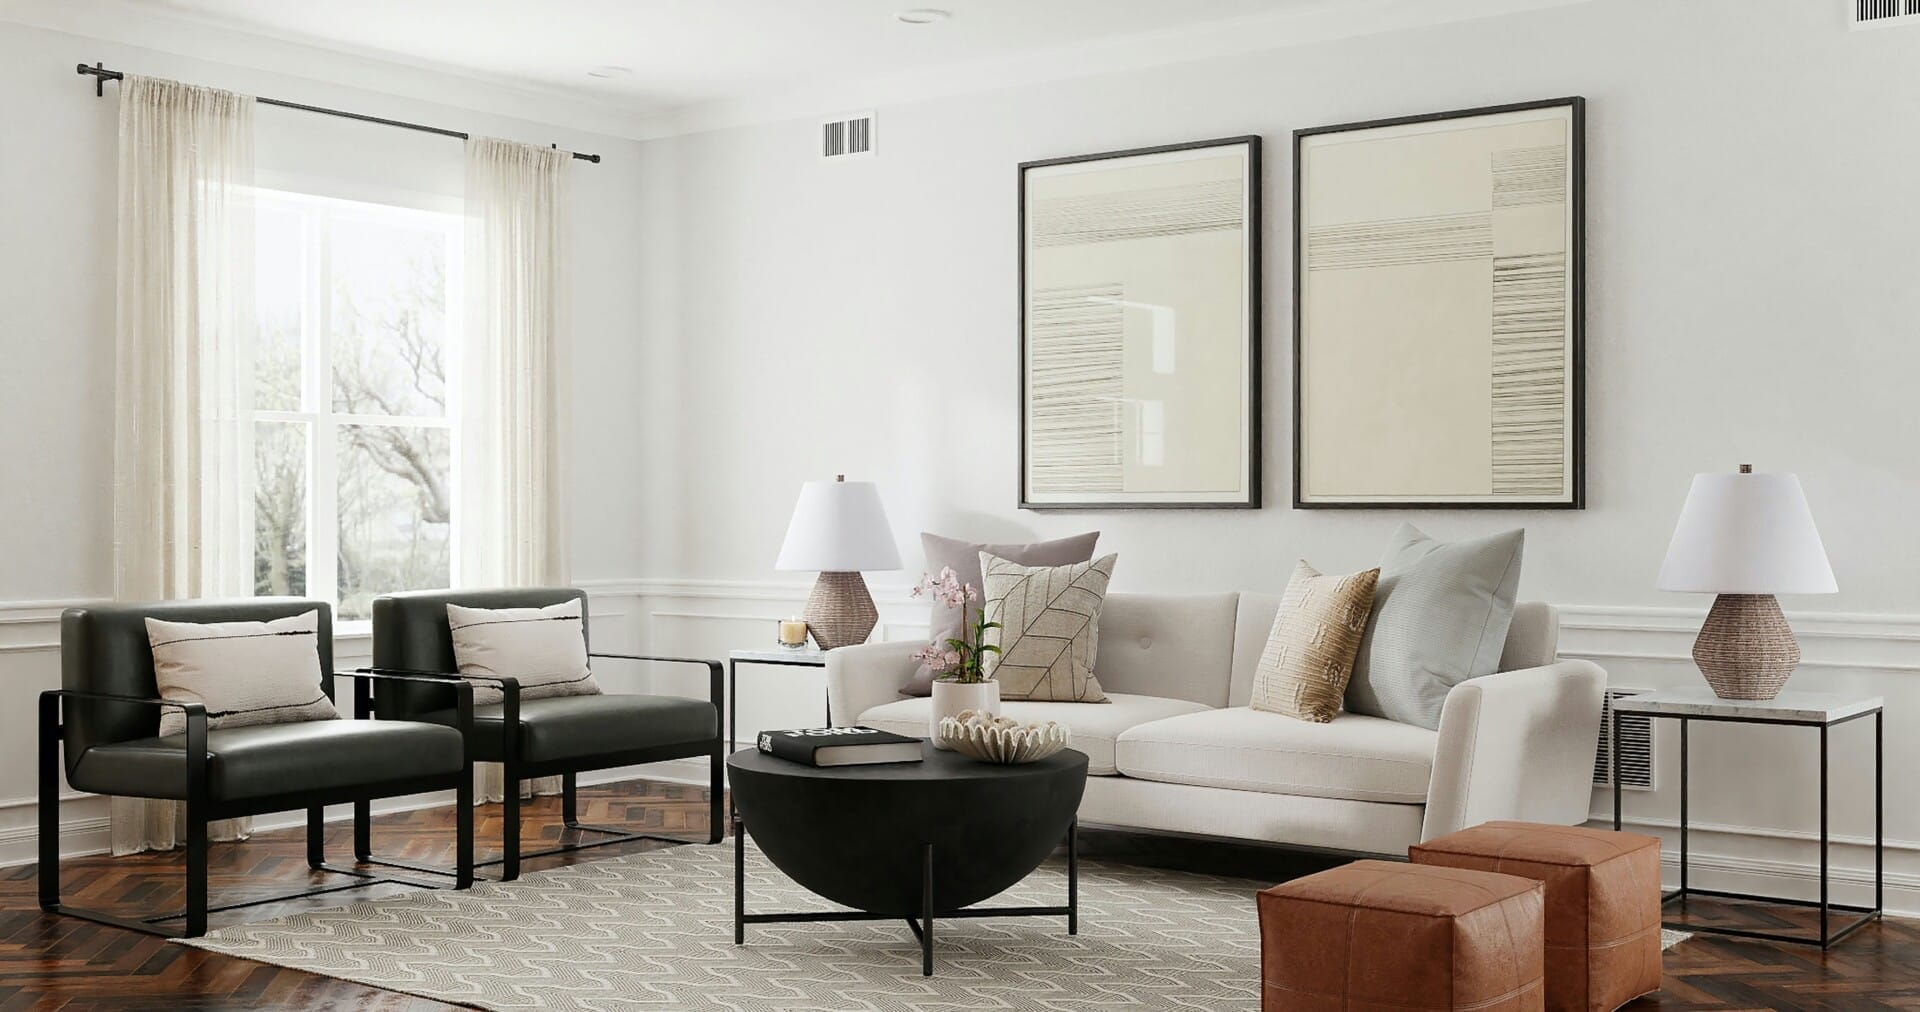
Finishing Touches: Taping, Mudding, and Sanding for Smooth Surfaces
Once your drywall is up, it’s time to dive into the finishing touches that will make all the difference in the world. First up is the taping process, where you’ll cover the joints between the drywall sheets with tape to create a seamless appearance. This is best done with either paper or fiberglass tape—each has its own advantages. Applying a thin layer of joint compound over the tape helps to secure it in place. Just remember to feather out the edges for a smoother finish! Here’s a quick cheat sheet for choosing your tape:
| Type of Tape | Pros | Cons |
|---|---|---|
| Paper Tape |
|
|
| Fiberglass Tape |
|
|
After taping comes the mudding phase, which involves applying joint compound to create a smooth surface. Start with a thin layer, known as the first coat, and gradually build up with subsequent layers, allowing each to dry completely in between. This method not only fills in any imperfections but also helps achieve that polished look we all want. Remember to sponge lightly between coats and to use broader knives as you go along. The goal is to hide the seams as much as possible and to blend everything together beautifully before the final sanding.
don’t skip out on the sanding step. Sanding helps to eliminate tool marks and imperfections, making your surface pristine. Use a sanding sponge or block and start with medium-grit paper before moving to finer grits for a flawless finish. Be sure to wear a dust mask because the dust can get pretty messy! If you want to make this process easier, consider investing in an orbital sander. it’s the combination of these meticulous steps that transforms bare drywall into a canvas ready for paint or wallpaper, delivering that professional touch everyone will admire.
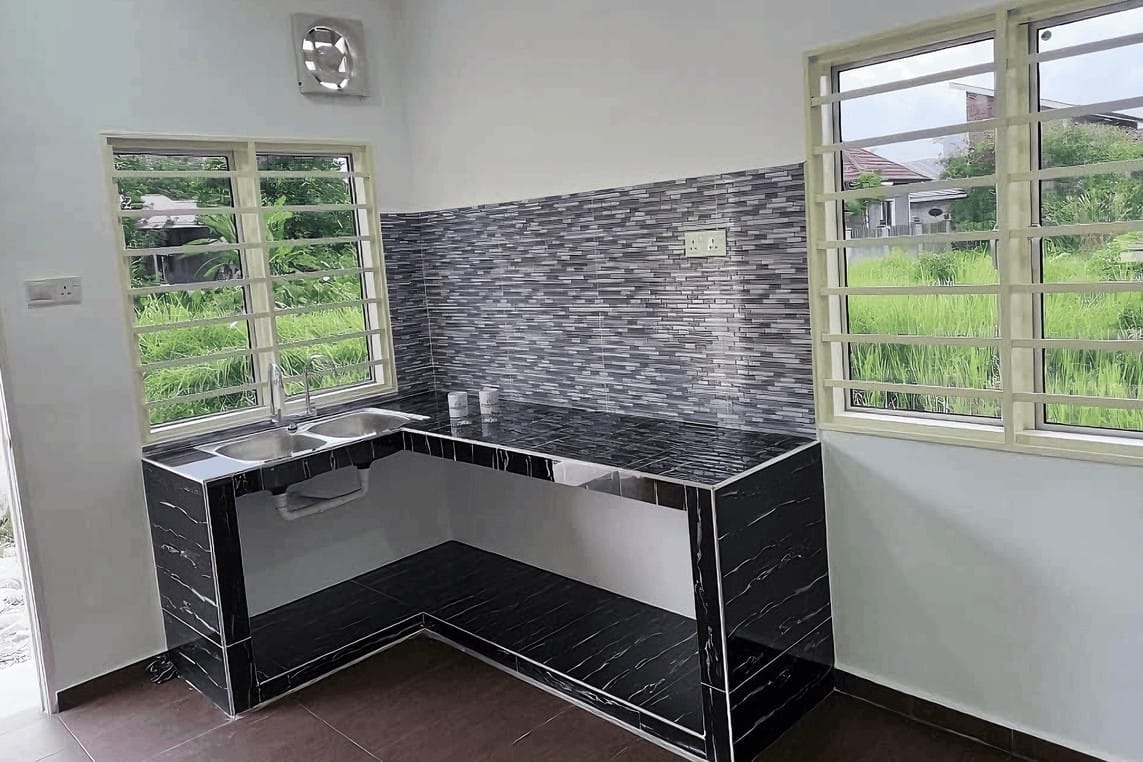
Mitigating Common Mistakes to Avoid Costly Repairs
One of the most common blunders during drywall installation is overlooking the importance of proper measurements. Taking accurate measurements is crucial; even a slight miscalculation can lead to gaps that not only look unprofessional but can also invite moisture and pests. Always measure twice and cut once to minimize waste and ensure that each section fits seamlessly. When laying out your drywall, use a straight edge and level to help keep everything aligned perfectly.
Another frequent mistake is a lack of preparation for the surface where the drywall will be installed. Failing to clean and prep the frame can result in far more than just aesthetics. Dust, debris, and moisture can compromise the adhesion of joint compounds and tape, leading to cracks and peeling over time. It’s advisable to clean the studs thoroughly and allow any damp areas to dry completely before you start. This small step can save you from hefty repair costs down the line.
Lastly, if you think nailing or screwing drywall panels is a straightforward task, think again. Placing fasteners too close to the edges can cause the material to crack, while those placed too far apart may not provide adequate support. To avoid this, aim for a fastener spacing of about 12 inches apart along the edges and around 16 inches apart in the field. Here’s a handy reference for fastener placement:
| Fastener Type | Edge Spacing (inches) | Field Spacing (inches) |
|---|---|---|
| Screws | 12 | 16 |
| Nails | 12 | 16 |
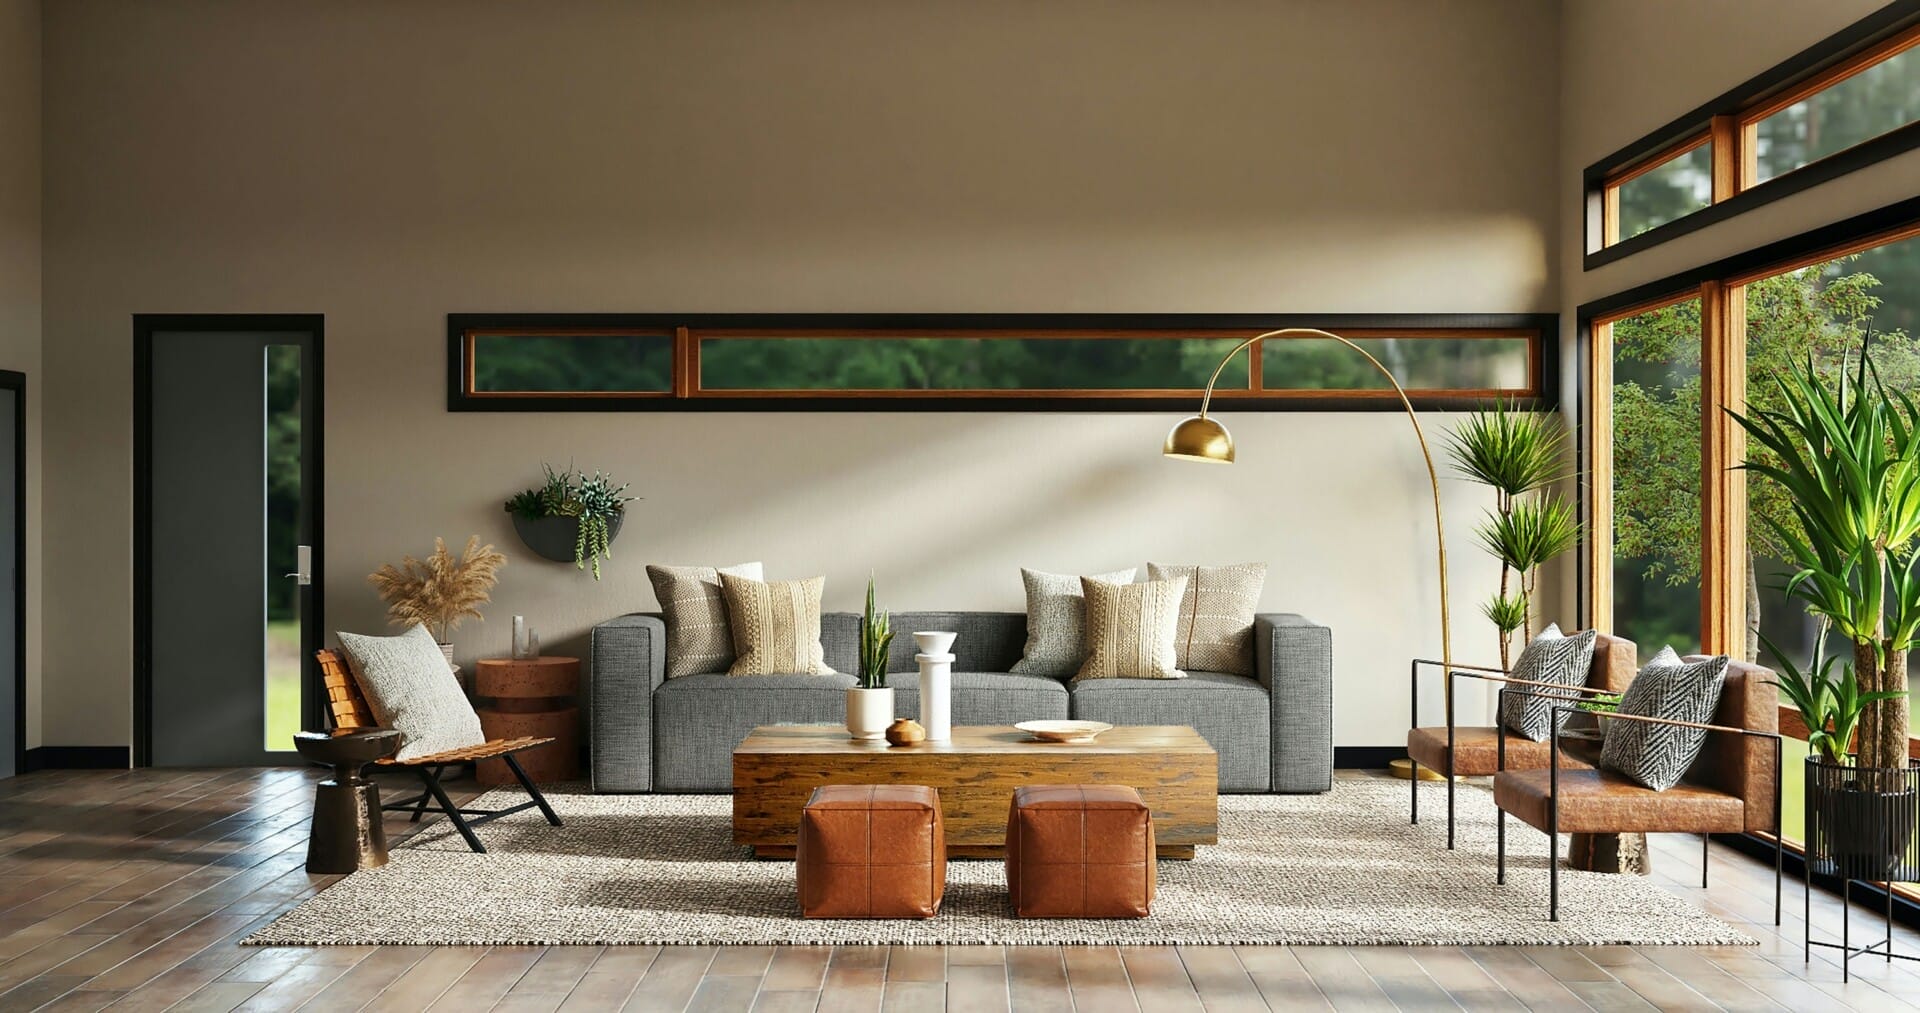
Selecting the Right Materials for Optimal Results
When it comes to drywall installation, choosing the right materials is essential for achieving a smooth, blemish-free finish. Start by considering the type of drywall you need. For areas prone to moisture, like bathrooms and kitchens, moisture-resistant drywall is a must-have. If you’re working in spaces that require additional durability, opting for impact-resistant drywall can significantly enhance longevity. In addition to drywall, don’t forget about the importance of joint compounds and tape. These materials form the backbone of your seams and joints, so investing in high-quality options ensures a seamless look.
Another critical aspect is the use of insulation. Not only does it contribute to soundproofing, but it also aids in temperature regulation, which is valuable in the warm Malaysian climate. Consider using ecologically friendly materials, such as recycled insulation options, which help reduce your environmental footprint. Don’t overlook the role of fasteners as well; choosing the right screws, nails, or adhesives can make installation smoother and prevent future issues like sagging or cracking.
remember that the finishes you apply can considerably affect the overall aesthetic. Investing in high-quality primer and paint will not only improve the look but also increase the durability of your drywall. If you’re unsure about the best options, consult with local suppliers or professionals who understand the Malaysian market. Here’s a quick comparison to help you choose:
| Material | Use Case | Benefits |
|---|---|---|
| Moisture-resistant Drywall | Bathrooms & Kitchens | Prevents mold, extends lifespan |
| Impact-resistant Drywall | High Traffic Areas | Enhanced durability, reduces repair frequency |
| Eco-friendly Insulation | Residential & Commercial Spaces | Sustainable option, improves energy efficiency |
Innovative Tools and Methods to Enhance Your Installation Process
In the world of drywall installation, the right tools can make all the difference. Embracing modern technology and innovative solutions is essential for achieving that flawless finish. One must-have tool in today’s installation arsenal is the automatic taper. This device not only speeds up the taping process but also ensures that your joints are perfectly smooth. Pair it with a high-quality drywall lift, which allows you to handle heavy sheets easily and securely, and you’re on your way to a more efficient installation experience.
Another method worth considering is the use of digital measuring tools. Traditional measuring tapes can give you the numbers, but with a laser distance measurer, you can save time and enhance accuracy. This tool eliminates guesswork and helps in large spaces where linear measurements become tedious. Additionally, incorporating smart drywall screw guns with adjustable clutches can greatly minimize the risk of overdriving screws, protecting your materials and ensuring a uniform surface ready for finishing.
To further streamline your installation process, why not explore the advantages of a collaborative installation? This involves leveraging project management software that allows teams to communicate better and track progress seamlessly. Here’s a quick overview of some popular tools:
| Tool | Benefit |
|---|---|
| Asana | Task assignment and progress tracking |
| Trello | Visual management of tasks and deadlines |
| Slack | Real-time communication and updates |
Utilizing these innovative resources not only optimizes the installation workflow but also ensures your finished walls meet the standards of quality and precision that every Malaysian homeowner deserves.
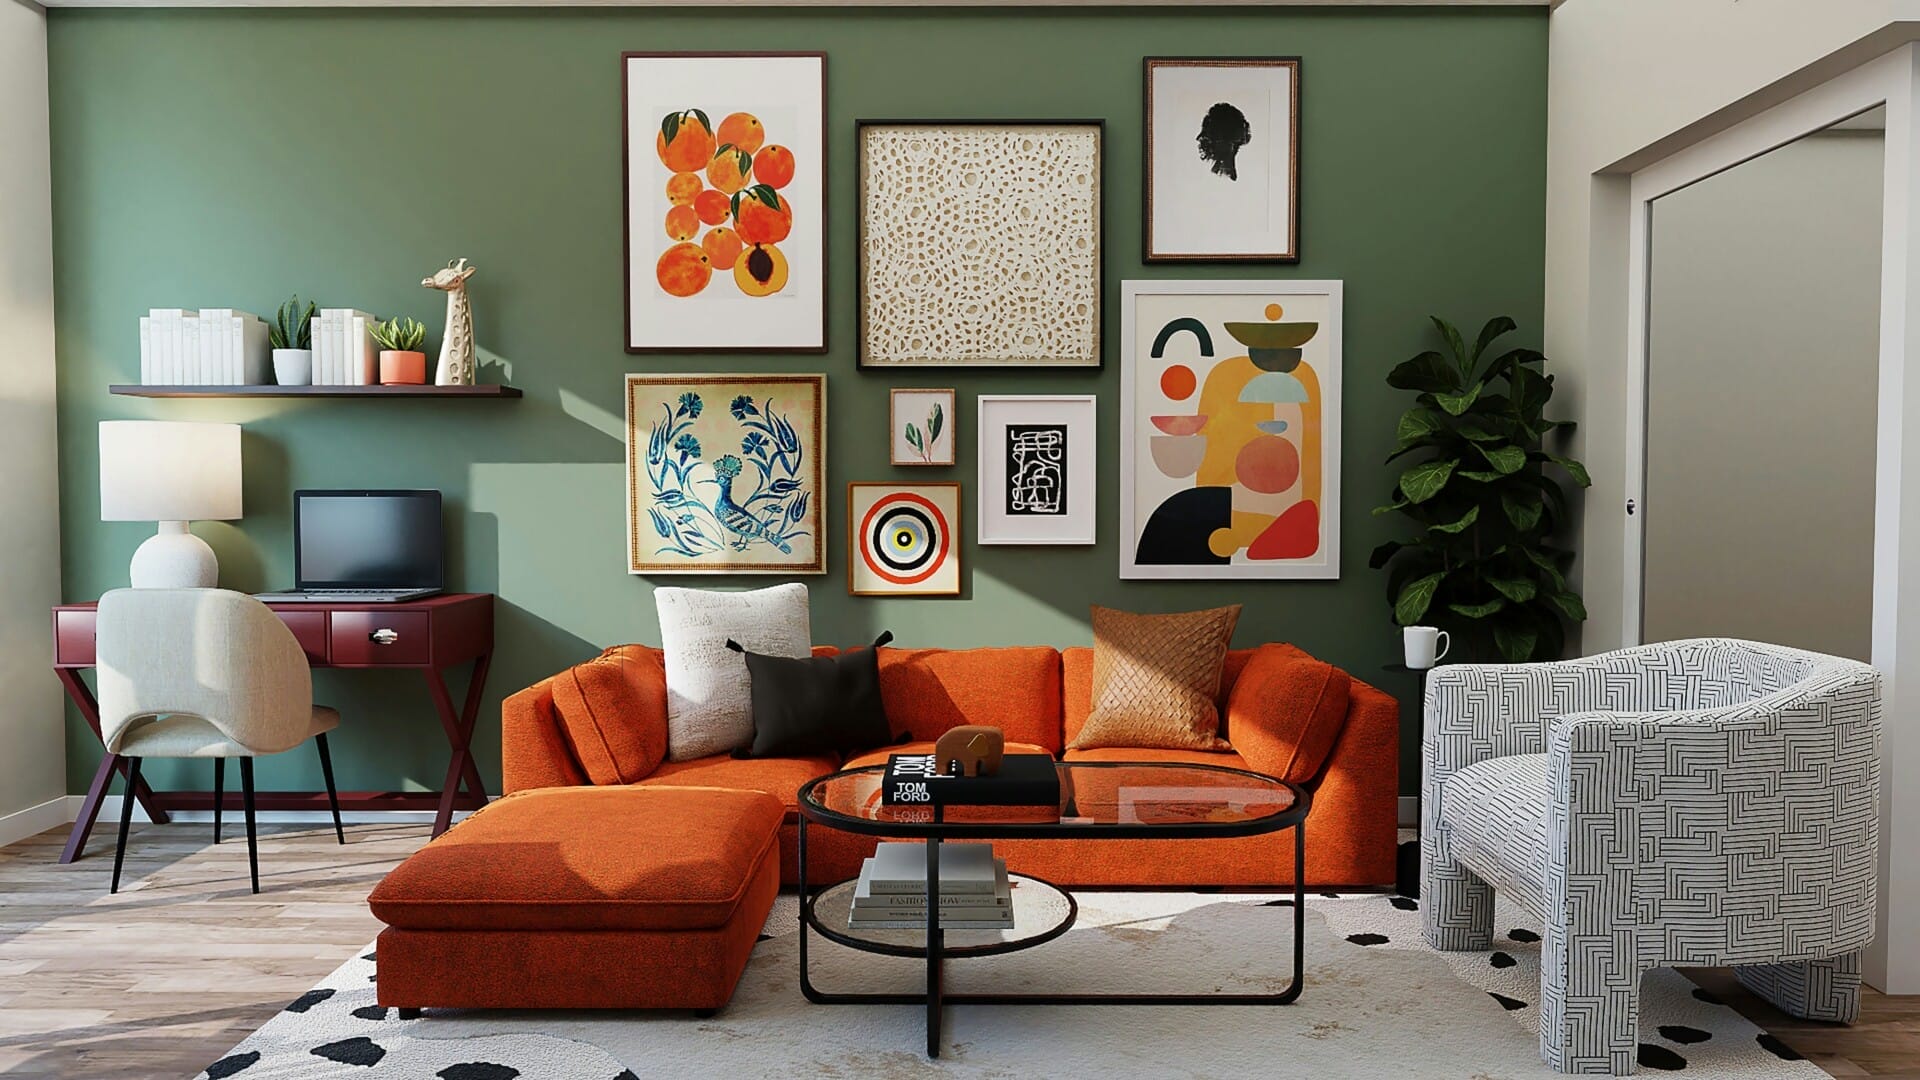
Maintaining Your Drywall: Tips for Longevity and Upkeep
To ensure your drywall stands the test of time, pay attention to moisture control. Keeping humidity levels in check is vital, especially in the tropical Malaysian climate. This means investing in a good dehumidifier or using exhaust fans in bathrooms and kitchens. Here are some essential tips for moisture management:
- Ventilation: Always ensure your spaces are well-ventilated.
- Regular Inspection: Check for signs of water damage regularly.
- Seal Cracks: Promptly seal any cracks or gaps where moisture might enter.
Equally important is the protection from physical damage. Drywall can be surprisingly vulnerable to impact, so taking a few preventive measures can make a huge difference. Simple adjustments to your everyday activities can drastically reduce the risk of dents and scratches on your walls:
- Furniture Placement: Be mindful of heavy furniture near drywall surfaces.
- Use Corner Guards: Install corner guards in high-traffic areas.
- Careful Handling: Always be careful when moving items around, especially in narrow spaces.
Lastly, maintaining the aesthetic appeal of your drywall is essential for a polished look. Regular painting and touch-ups keep your walls looking fresh and vibrant. Consider the following maintenance steps to preserve the appearance of your drywall:
- Periodic Painting: Repaint every few years to keep that vibrancy.
- Touch Up: Address small marks or scratches immediately.
- Choose Quality Paint: Invest in high-quality, moisture-resistant paint.
To Wrap It Up
In wrapping up our chat about the importance of proper drywall installation, it’s safe to say that no one wants those unsightly seams or cracks ruining their beautiful interiors. Getting it right from the get-go not only sets the stage for a polished finish but also plays a big role in ensuring your walls are sturdy and durable. Whether you’re a seasoned pro or a DIY enthusiast, remember that the little details matter. Next time you tackle a drywall project, keep in mind that taking the time to do it properly can make all the difference in achieving that seamless look you’re after. Happy renovating, and may your walls be ever flawless!